Image Recognition
Image Recognition, in the context of computer vision, is the computer’s ability to recognize and identify an object through an image, a video or a live camera.
For image recognition task, we use the pre-built imagenet program. The program takes an input (an image, a video or a live camera) and performs the inference using the pretrained networks, then overlays the results on the output. The output can be an image, a video or a live camera.
There are total of 10 networks each pre-trained with ImageNet ILSVRC dataset containing 1000 objects. This means each of the networks are capable of classifying 1000 different objects.
Network |
CLI argument |
|---|---|
AlexNet |
alexnet |
GoogleNet |
googlenet |
GoogleNet-12 |
googlenet-12 |
ResNet-18 |
resnet-18 |
ResNet-50 |
resnet-50 |
ResNet-101 |
resnet-101 |
ResNet-152 |
resnet-152 |
VGG-16 |
vgg-16 |
VGG-19 |
vgg-19 |
Inception-v4 |
inception-v4 |
Launching the Program
The imagenet program is a python based program. The program may be ran directly on the Command Line Interface or through our pre-built script ran on the Jupyter Notebook environment.
These are the different parameters that can the adjusted to the users need. (Note) The input and output information must be given.
The network name that will be used for the inference
The input source (file path if it is an image(s) or a video(s))
The output method (file path if it is an image(s) or a video(s))
./imagenet.py --networks=<network name> <input source> <output method>
Examples through Jupyter Notebook
The program launching process along with parameter settings are all simplified and set up on the Jupyter Notebook Environment.
(The Jetson Board used for these examples are => Jetson Nano)
Recognizing Oranges with GoogleNet network (image input)
1-1. Detect oranges in images - googlenet.ipynb
- Running the cell codeCtrl + Enter
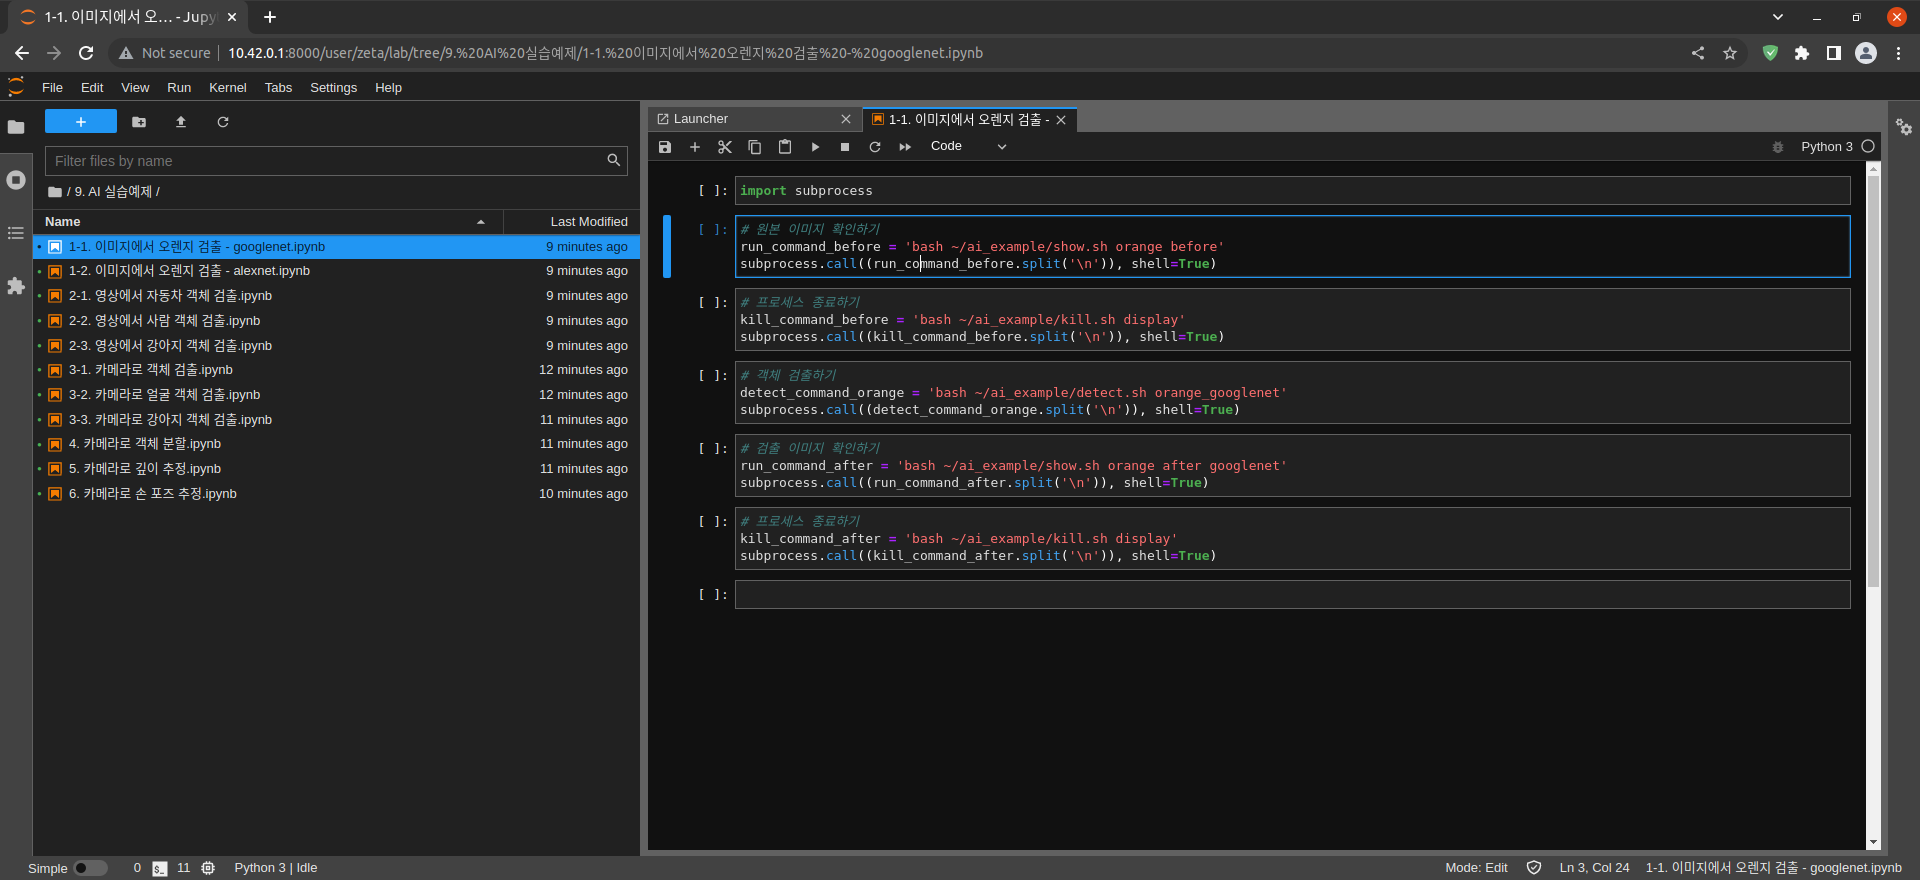
Import the subprocess module to run the example scripts (i.e. show.sh, kill.sh)
import subprocess
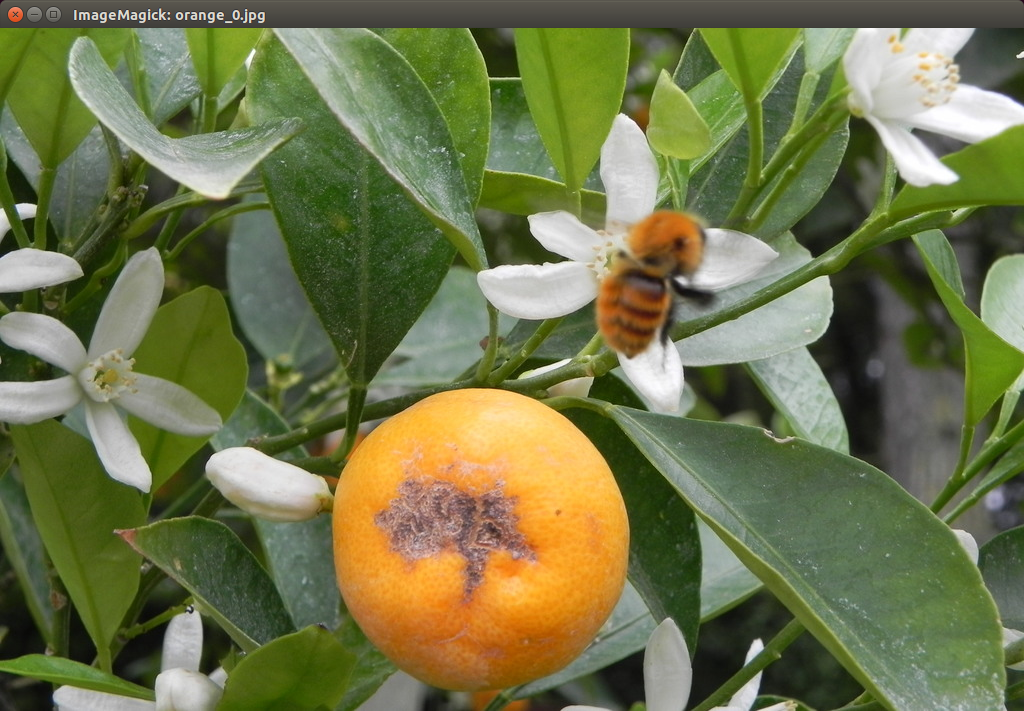
Check the input image
# Check the original image
run_command_before = 'bash ~/ai_example/show.sh orange before'
subprocess.call((run_command_before.split('\n')), shell=True)
After confirming that the Input image is correct, terminate the image window
# terminating the process
kill_command_before = 'bash ~/ai_example/kill.sh display'
subprocess.call((kill_command_before.split('\n')), shell=True)
Guess what the image is!
# Detect objects
detect_command_orange = 'bash ~/ai_example/detect.sh orange_googlenet'
subprocess.call((detect_command_orange.split('\n')), shell=True)
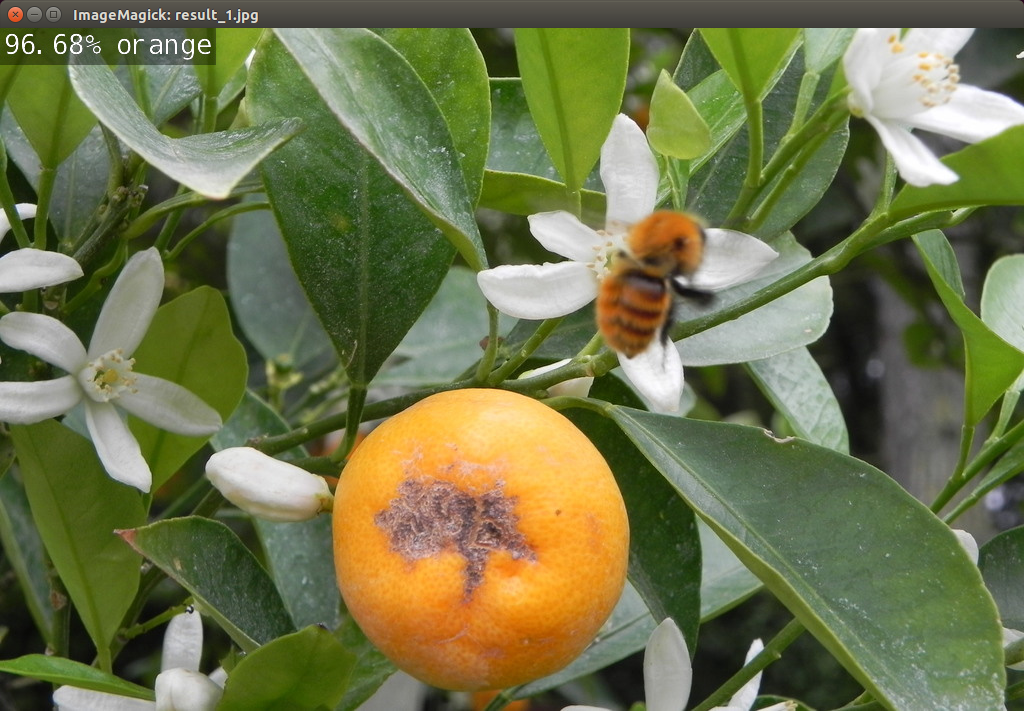
Output the result on the image window
# Check the detected image
run_command_after = 'bash ~/ai_example/show.sh orange after googlenet'
subprocess.call((run_command_after.split('\n')), shell=True)
Terminate the process
# terminating the process
kill_command_after = 'bash ~/ai_example/kill.sh display'
subprocess.call((kill_command_after.split('\n')), shell=True)
Recognizing Oranges with Alex network (image input)
1-1. 이미지에서 오렌지 검출 - alexnet.ipynb
- Running the cell codeCtrl + Enter
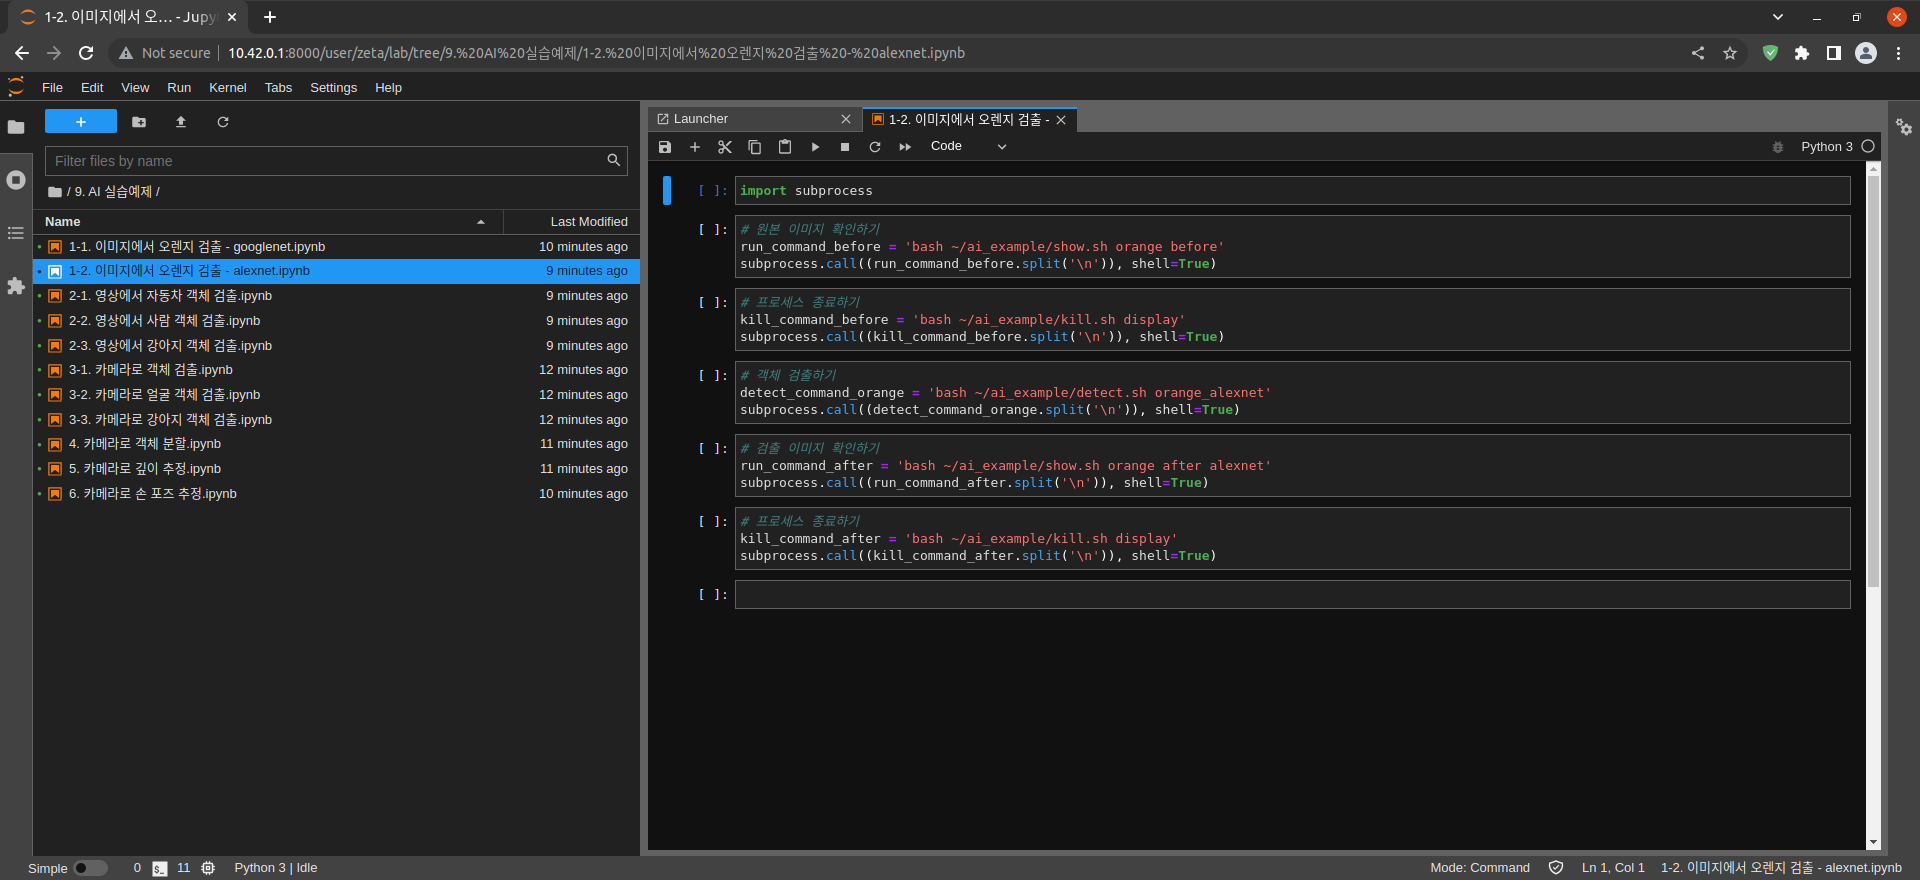
Import the subprocess module to run the example scripts (i.e. show.sh, kill.sh)
import subprocess
Check the input image
# Check the original image
run_command_before = 'bash ~/ai_example/show.sh orange before'
subprocess.call((run_command_before.split('\n')), shell=True)
After confirming that the Input image is correct, terminate the image window
# terminating the process
kill_command_before = 'bash ~/ai_example/kill.sh display'
subprocess.call((kill_command_before.split('\n')), shell=True)
Guess what the image is!
# Detect objects
detect_command_orange = 'bash ~/ai_example/detect.sh orange_alexnet'
subprocess.call((detect_command_orange.split('\n')), shell=True)
Output the result on the image window
# Check the detected image
run_command_after = 'bash ~/ai_example/show.sh orange after alexnet'
subprocess.call((run_command_after.split('\n')), shell=True)

Terminate the process
# terminating the process
kill_command_after = 'bash ~/ai_example/kill.sh display'
subprocess.call((kill_command_after.split('\n')), shell=True)